Cyberpunk-Inspired City WIP #3
Another couple of days of work, another progress post! I can never seem to capture all of the detail I added in these test renders, but there's probably a lesson in there about "not hyperfocusing on miniscule aspects of a huge scene" or something. Anyway, today's upload is focused around the same row of shops as last time, adding textures, fleshing out some existing elements and giving the lights more geometry to play with. I also bought Deezl Studio's Cyberpunk City Asset Pack (artstation.com/marketplace/p/wVgg/cyberpunk-asset-pack) because I was getting a little tired of modeling storefronts and wanted to broaden my scope a bit. I was particularly proud of the windows to the left of the Bank, and these are a glass plane over an emission plane with a wave texture to simulate blinds.
Follow for more, and feedback/criticism welcome as always! When this project is done (i.e. never) should I release this as a game-ready environment?

For now, I guess this is becoming the "main strip" of this area of the city. Neon trees are now higher, alleyways have been added, and much more detailing to walls, walkways and emission objects.
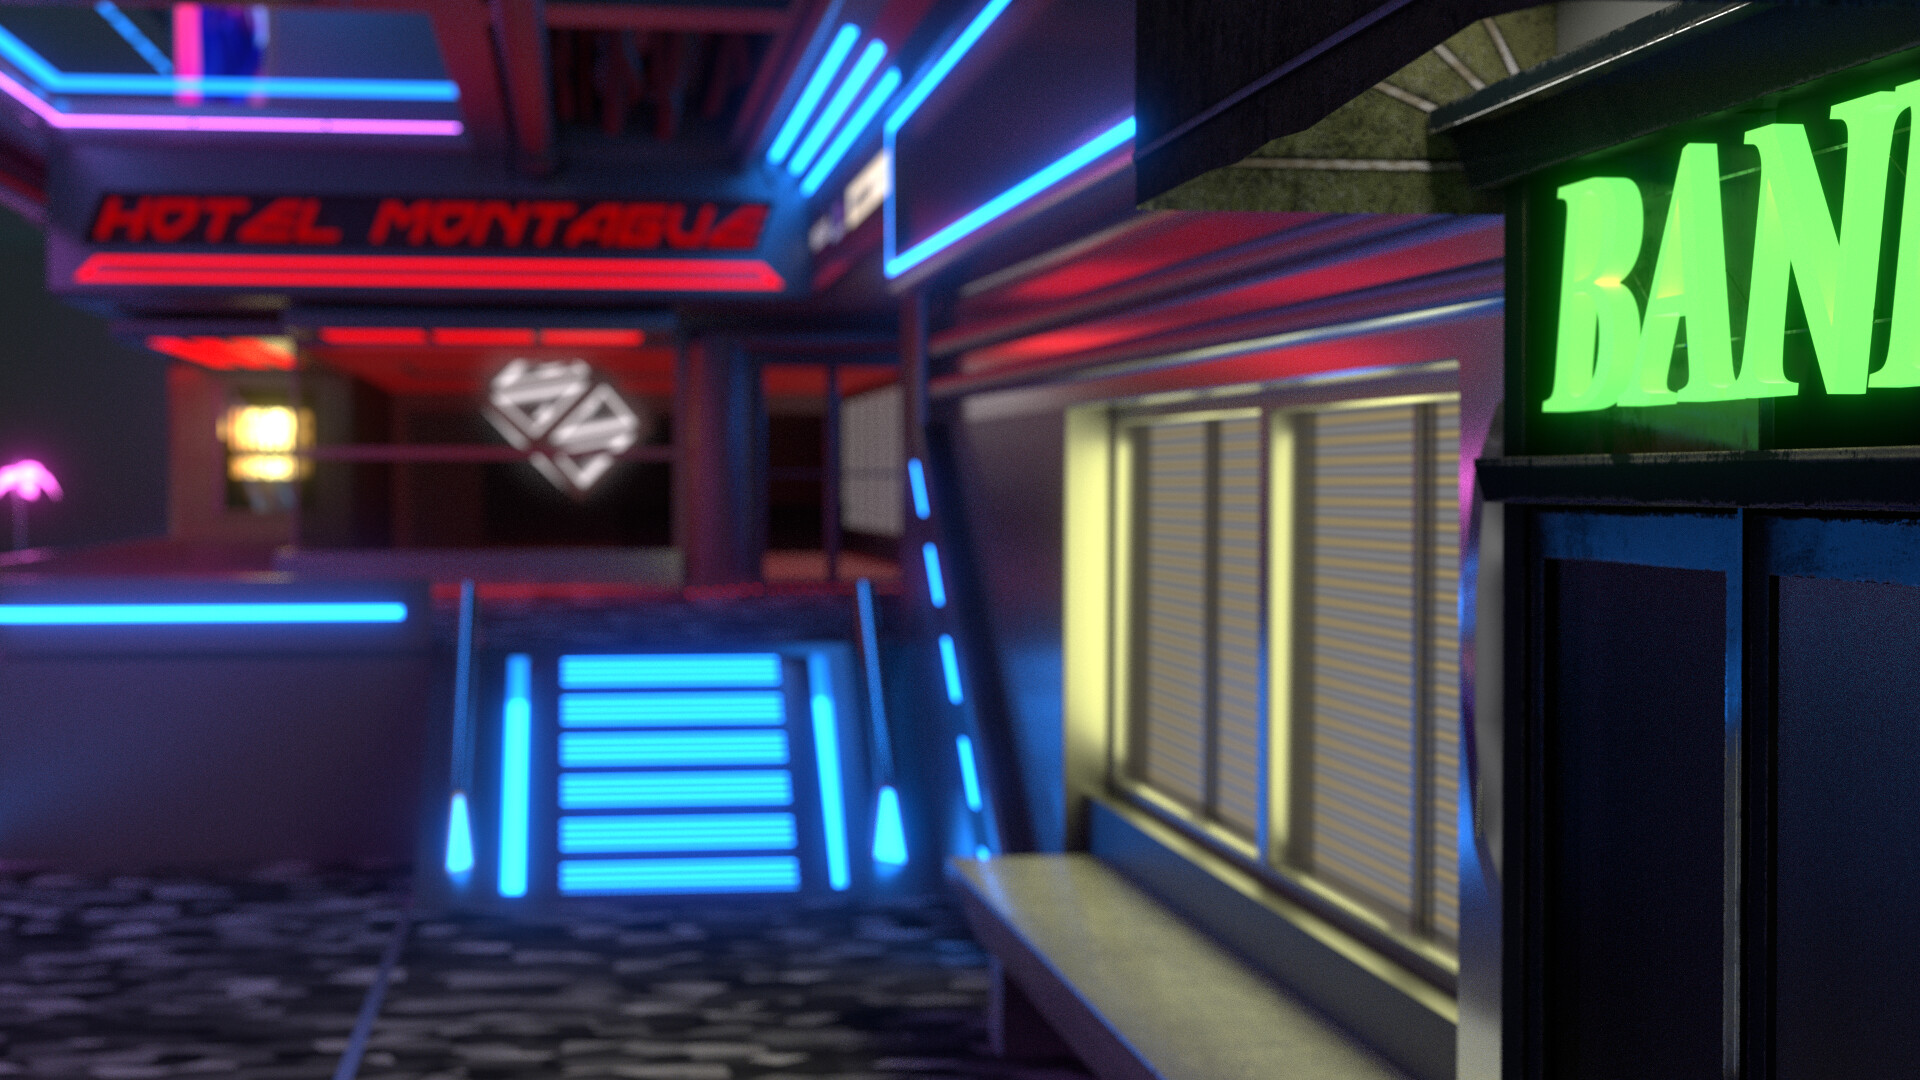
A closeup shot of the bank windows and walkway leading to the Hotel Montague. Walkway texturing is visible here - a simple voronoi with a color ramp, then metallic divisions as "grout". Tubing under the above walkway is also visible.
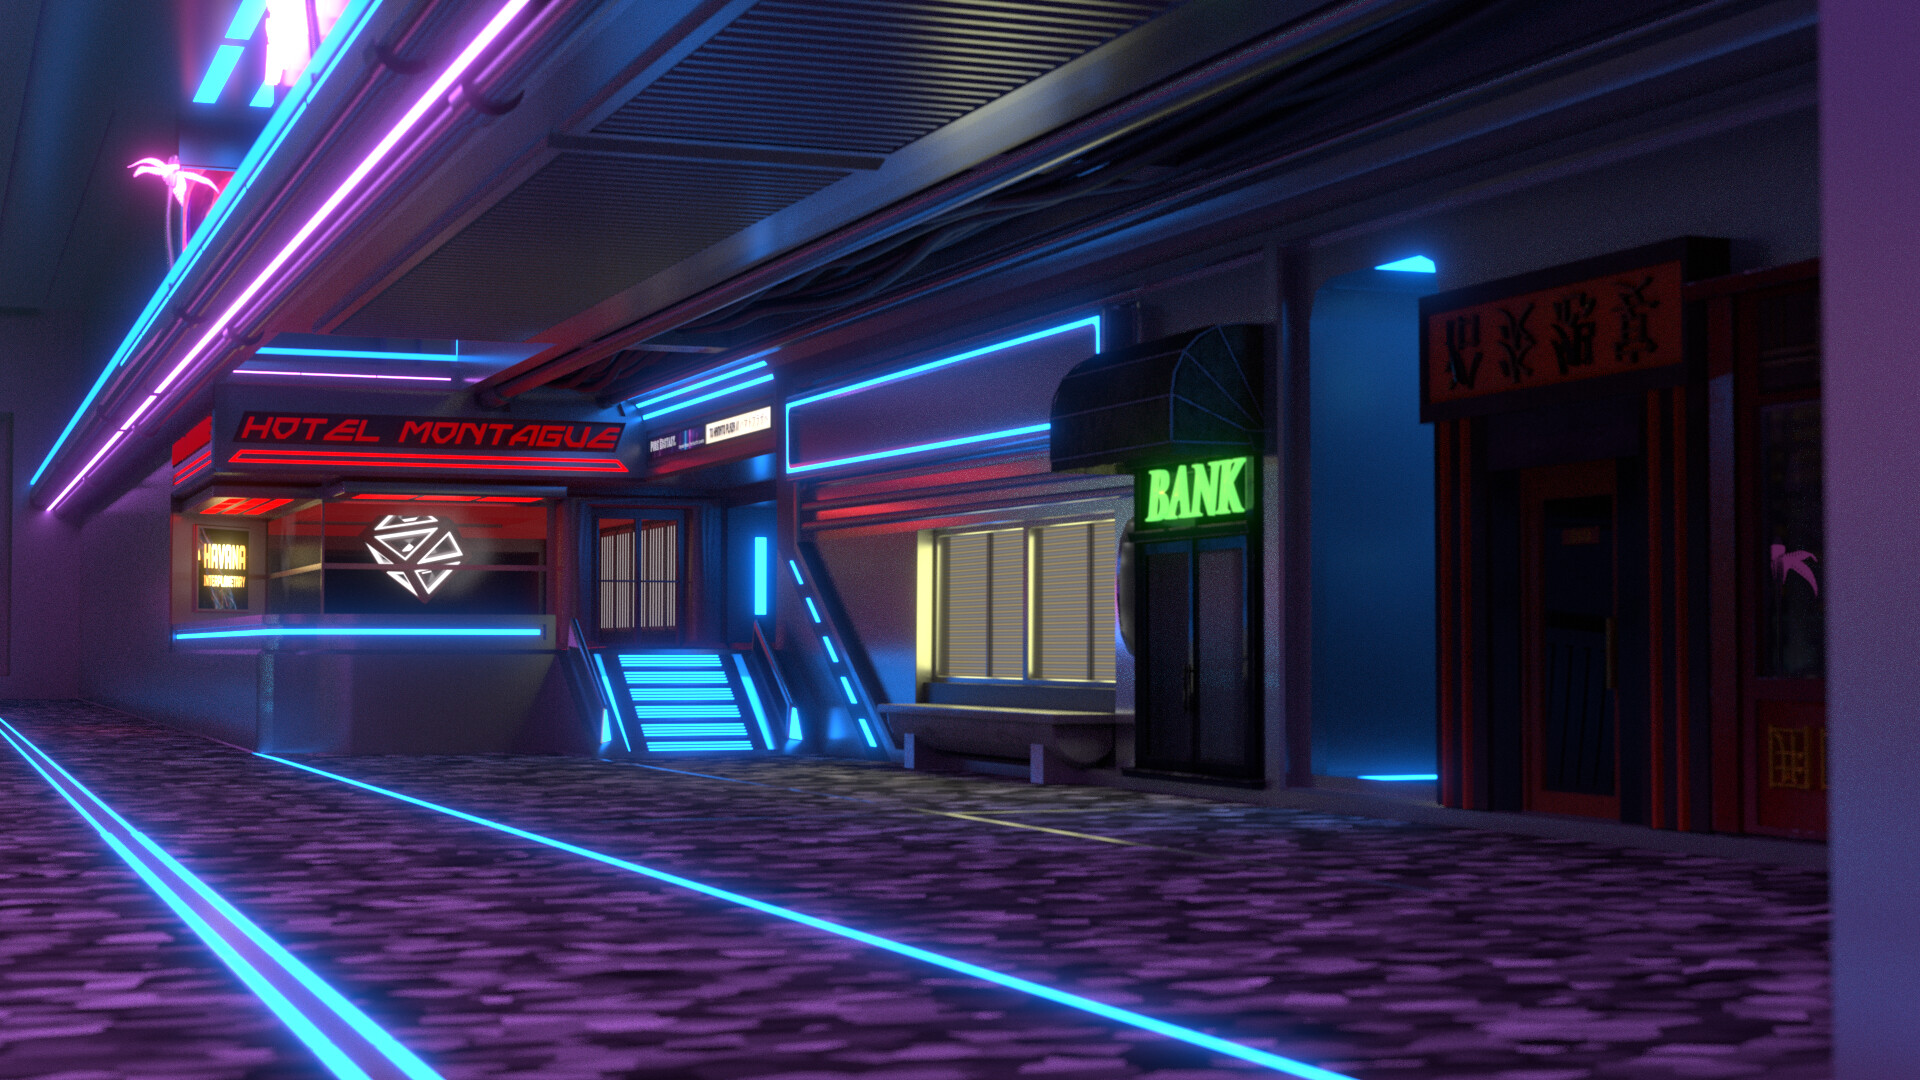
Another angle of this area, with under-walkway detailing more visible. More lighting to fill out the rightmost area is forthcoming.
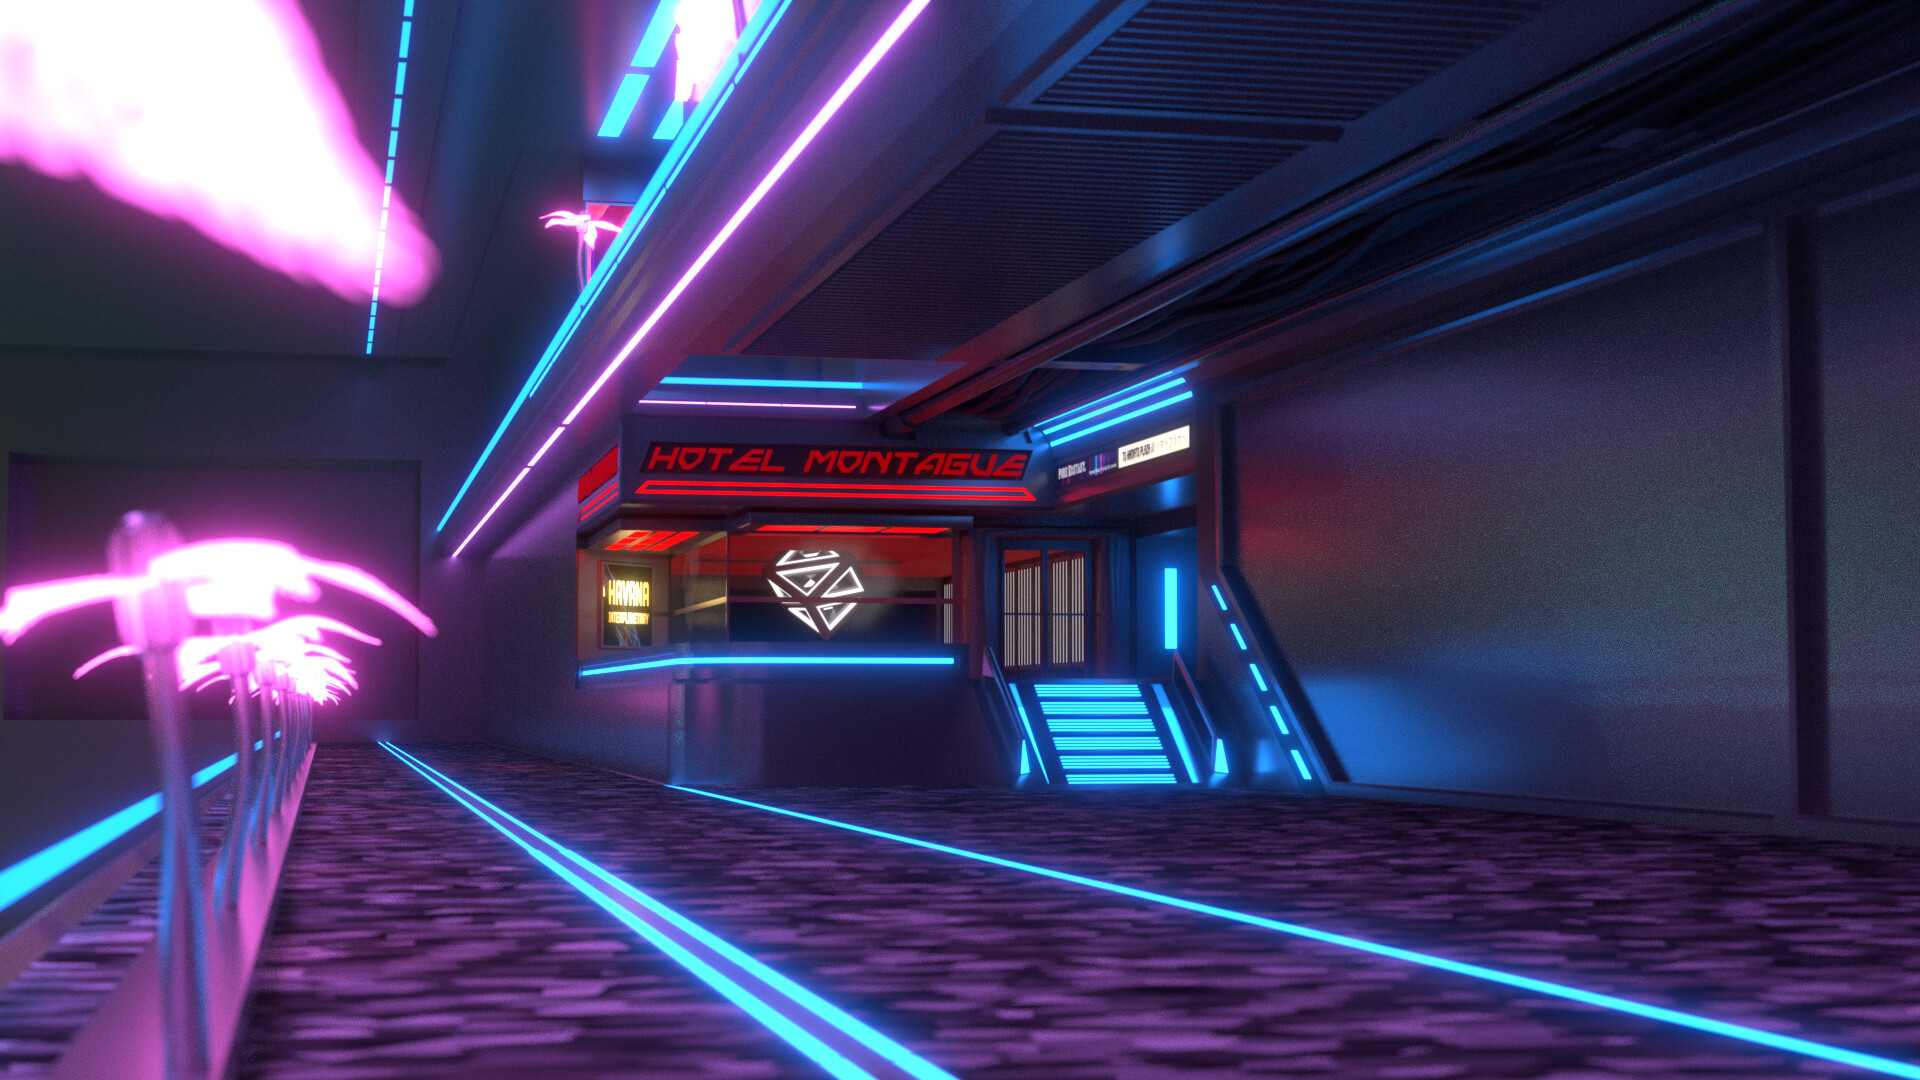
Process Shot #1 - An earlier render of the previous angle, missing storefronts.
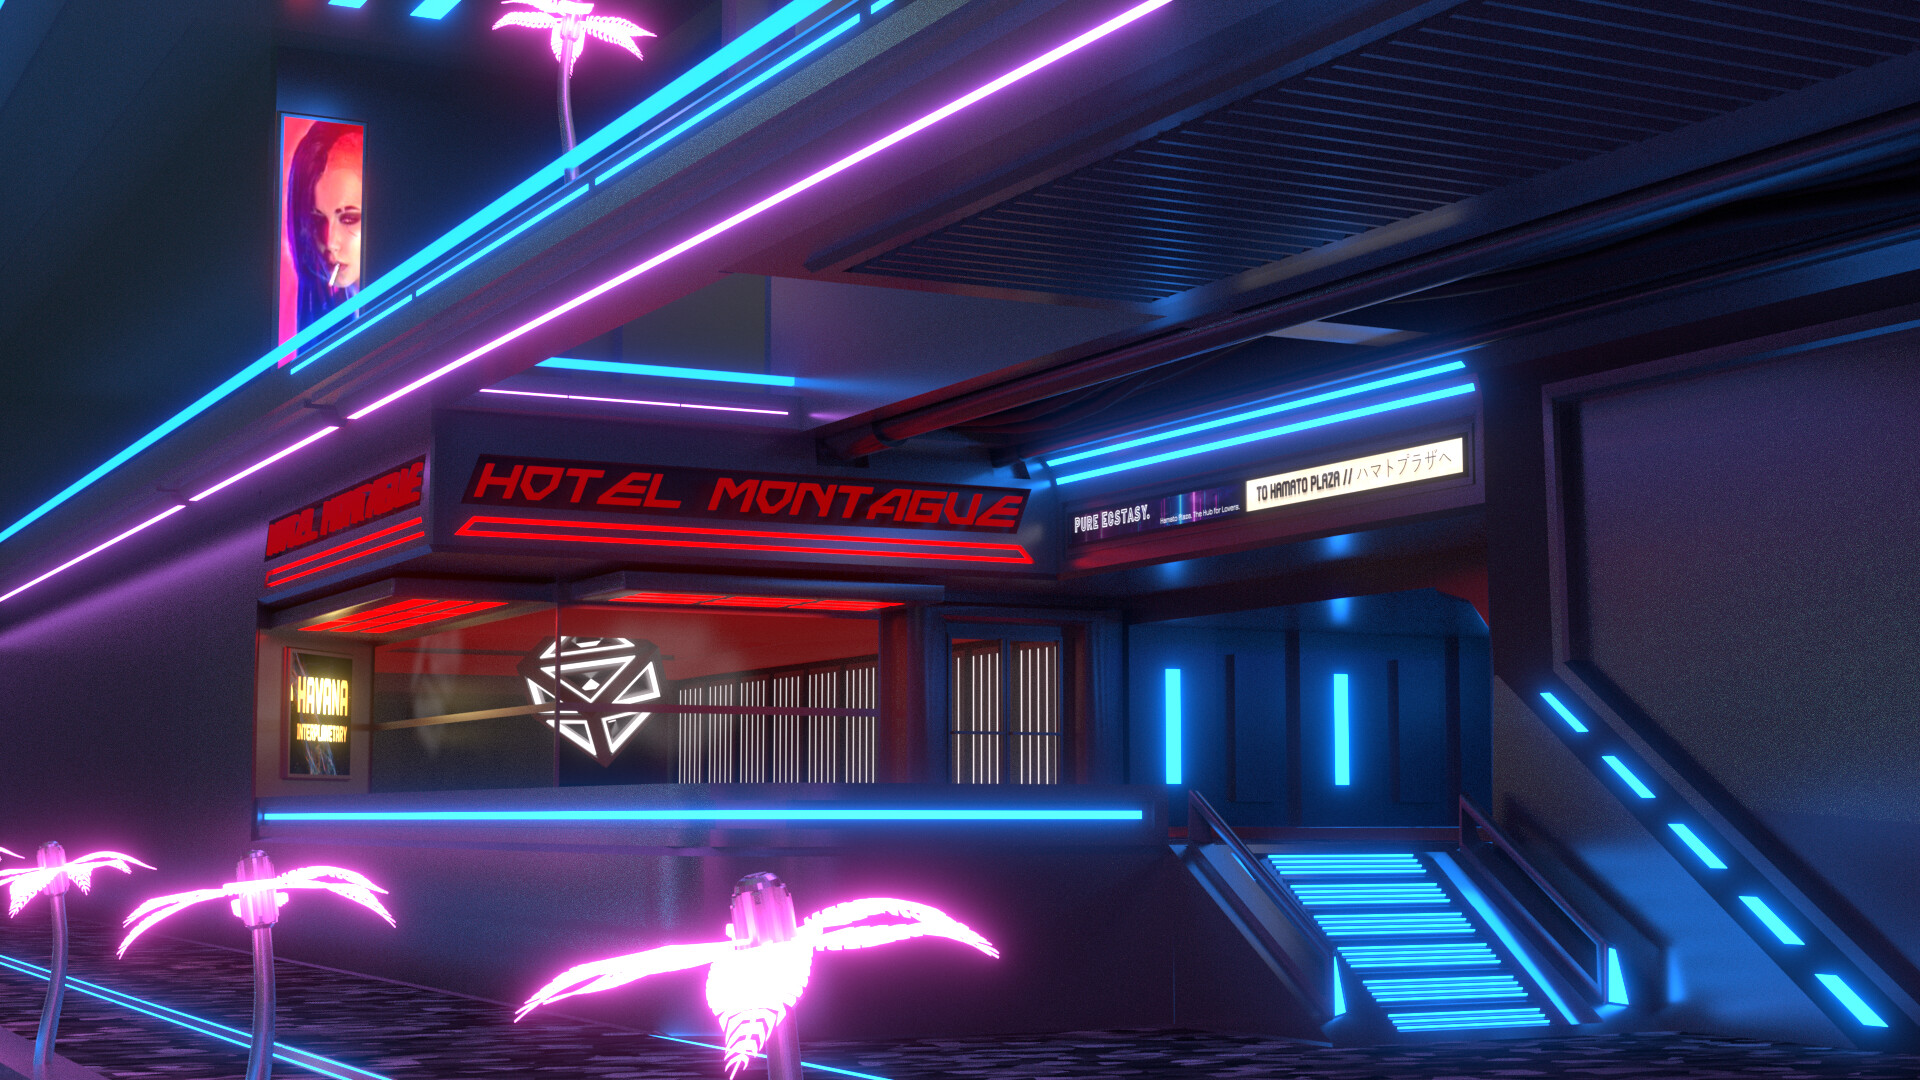
Process Shot #2 - From the same set of test renders, this angle shows the signage over the tunnel walkway.

Process Shot #3 - A much earlier test render for comparison, when I'd only finished the topmost shop.
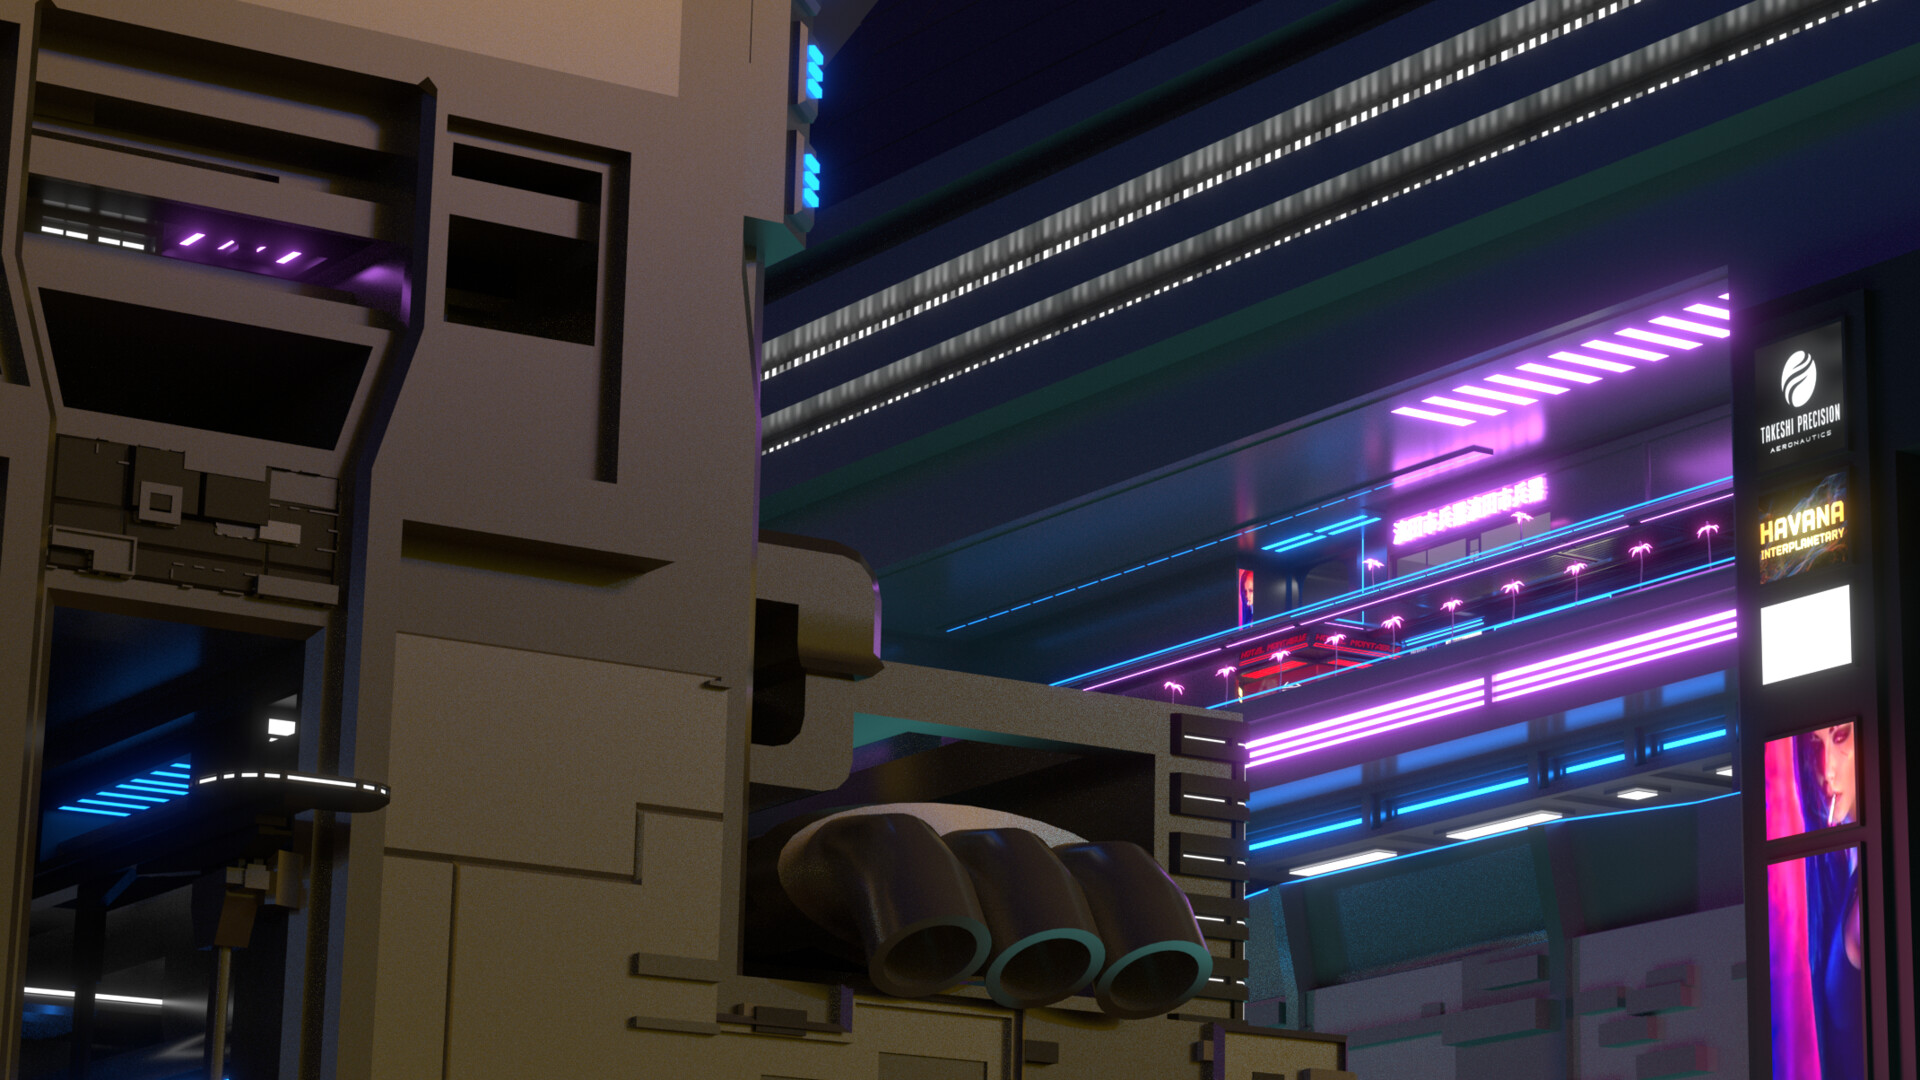
Lastly, I wanted to pull the shot back to the original angle I worked on. Not much detail's been added to the left building, but this will give you an idea of the scale of this build. All details above are contained within the middle purple section.

Here's the full scope of this original shot, helpful for comparison with the next (and last) Process Shot.
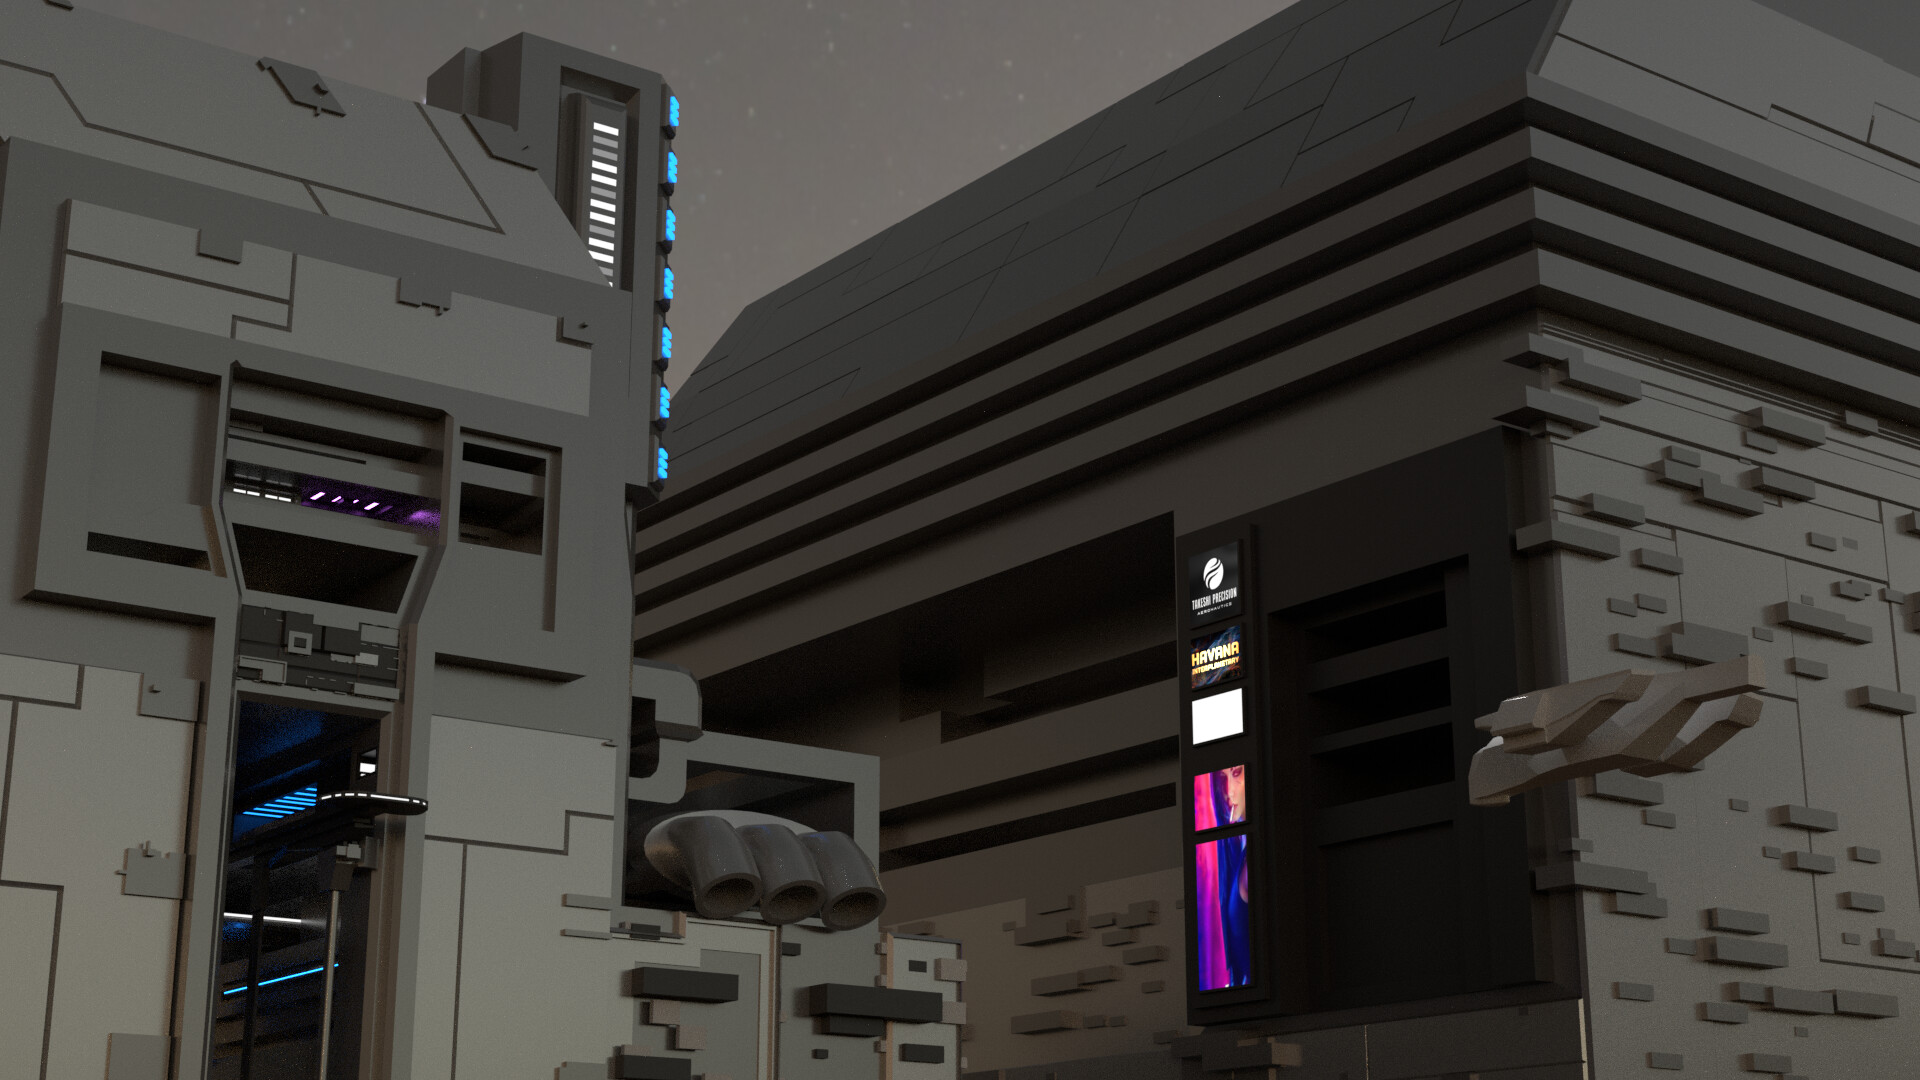
Process Shot #4 - The original angle, without any added city details.